Snapshot
The Snapshot application is a disaster recovery tool based on the Btrfs file system. With Snapshot, you can take snapshots of shared folders or iSCSI LUNs, or restore data after a disaster. Snapshots can be stored locally on TNAS or on a remote device, providing safer data protection against data loss caused by accidental deletion, application crashes, data corruption, or viruses.
snapshot is a point-in-time copy stored in the same storage space, used to record the complete state of the data at the moment the snapshot was taken. Snapshots consume only a small amount of additional storage space and have no impact on performance. If users accidentally modify or delete data in a storage space with snapshots, the snapshot can quickly restore the data to its previous state.
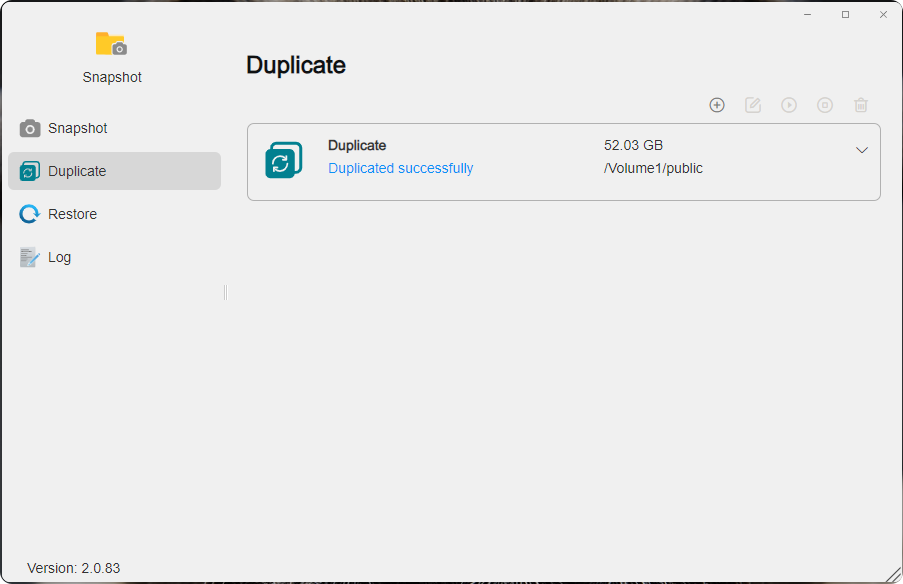
Replication is a mechanism used to copy shared folders or LUNs between a source and a destination (a snapshot will be created during replication). If the source fails, the destination snapshot can be restored to continue providing services.
Requirements and Compatibility
Snapshot
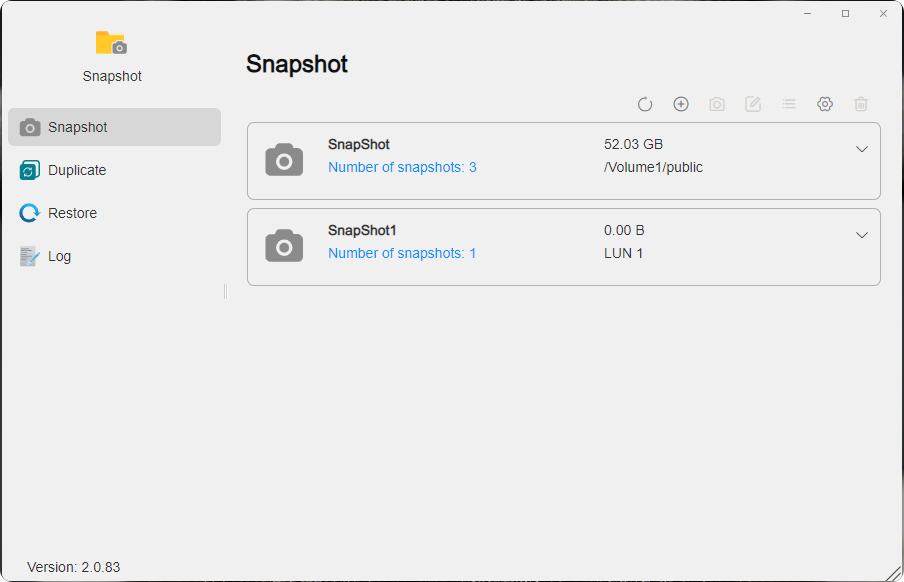
You can create snapshot tasks for shared folders or LUNs. You can not only take snapshots manually, but also configure automatic scheduled tasks for snapshots, and set snapshot retention policies as needed. In addition, we provide a convenient snapshot list view and management function to help you quickly identify and delete unnecessary snapshots, effectively freeing up storage space and optimizing resource usage.

How to take a snapshot?
- Click "Create", select the snapshot type: Shared Folder Snapshot or iSCSI LUN Snapshot, and choose the snapshot target. Click "Next".
- Configure the appropriate snapshot schedule and snapshot retention policy. Click "Next".
- Check whether all configurations are correct. Click "Confirm".
- Select the snapshot task and click "Take Snapshot" to manually take a snapshot. If you have configured a snapshot schedule, snapshots will be taken automatically when the conditions are met.
Thick Provisioned LUN does not support snapshots.
How to configure a snapshot schedule?
- When creating a snapshot task, check Enable Schedule and select the execution cycle, execution time, and repeat interval as needed.
- For an existing snapshot task, select the task and click "Edit" in the upper right corner to modify the schedule.
How to configure snapshot retention policies?
- Snapshot provides 2 types of retention policies: Always retain snapshots and Retain snapshots by quantity limit.
- You can select a suitable retention policy when creating a snapshot task, or modify it later through Edit.
- After enabling a scheduled task, the system will automatically take snapshots periodically. Combined with the retention policy, this ensures important snapshots are preserved while avoiding unlimited growth of snapshot numbers.
- If the current data state is critical, you can lock the corresponding snapshot in the snapshot list to ensure it is permanently preserved.
How to use snapshot visibility?
- When creating a snapshot task, check Allow snapshot files to be visible.
- In TOS > File Manager, go to the corresponding folder to see the
@snapshotfolder. Enter it to view or download files locally.
Replication
You can create replication tasks to copy shared folders or LUNs to other destinations (local or remote TNAS). If the replication source fails, the destination snapshot can be restored to continue providing services.

How to create a shared folder replication task?
1. Click "Create", set the task name, and select the target type: Shared Folder. Click "Next".
2. Select the destination: Local or Remote TNAS, and fill in the required information.
• Local: Select the destination volume and enter the new folder name.
• Remote TNAS: Enter the remote address, port, username, password, volume, and new folder name.
3. Configure the replication schedule and replication snapshot policy. Click "Next".
4. Confirm the configuration and click "Confirm".
5. Select the replication task and click "Replicate" to execute it immediately or wait for the schedule to run automatically.
How to create an iSCSI LUN replication task?
1. Click "Create", set the task name, and select the target type: iSCSI LUN. Click "Next".
2. Select the destination: Local or Remote TNAS, and fill in the required information.
• Local: Select the destination volume.
• Remote TNAS: Enter the remote address, port, username, password, and volume.
3. Configure the replication schedule and replication snapshot policy. Click "Next".
4. Confirm the configuration and click "Confirm".
5. Select the replication task and click "Replicate" to execute it immediately or wait for the schedule to run automatically.
- When creating a shared folder replication task to a remote TNAS, make sure the remote device has the Snapshot application installed and is using the Btrfs file system.
- When creating an iSCSI LUN replication task to a remote TNAS, make sure the remote device has the iSCSI Manager application installed.
Restore
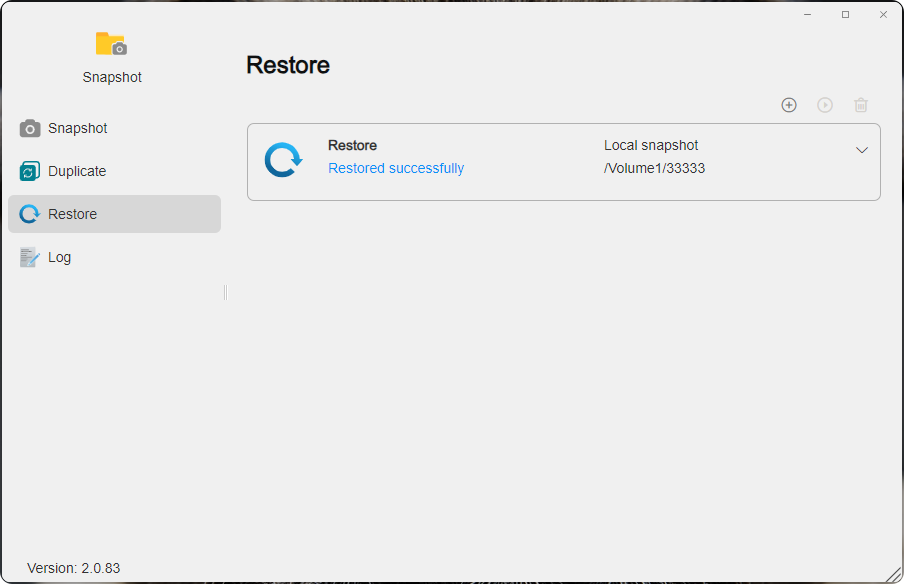
You can create restore tasks to restore shared folder snapshots or iSCSI LUN snapshots from local or remote TNAS to the local system.

How to create a restore task from a local snapshot?
- Click "Create", set the task name, and select "Restore from: Local Snapshot".
- Select the snapshot type: Shared Folder Snapshot or iSCSI LUN Snapshot, and specify the restore target and destination.
- Confirm the configuration and click "Confirm".
- Select the task and click "Restore" to execute it.
How to create a restore task from a remote snapshot?
- Click "Create", set the task name, and select "Restore from: Remote Snapshot".
- Select the snapshot type: Shared Folder Snapshot or iSCSI LUN Snapshot, and select the local destination.
- Enter the remote TNAS address, port, username, password, restore target, and corresponding snapshot.
- Confirm the configuration and click "Confirm".
- Select the task and click "Restore" to execute it.