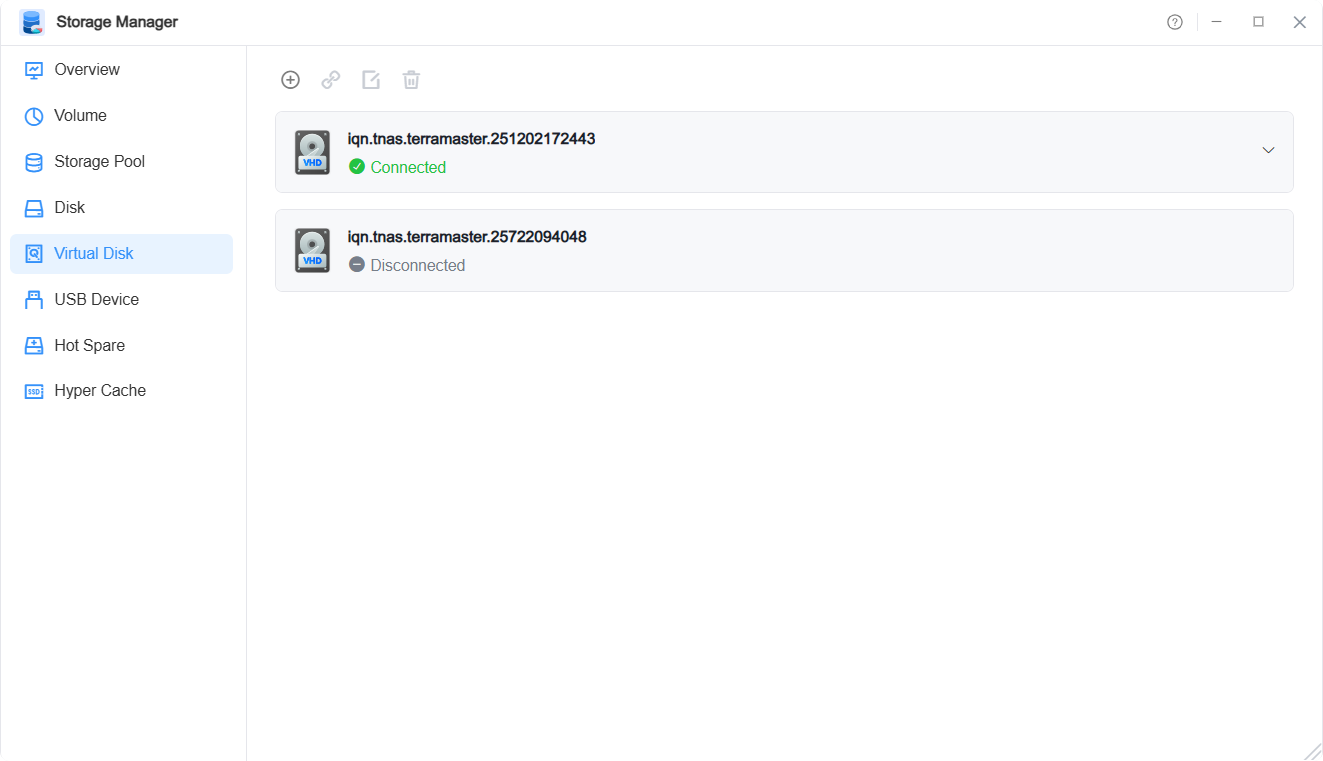
Virtual Disks
You can mount the iSCSI Target of a NAS device or server to TNAS as a Virtual Disk to expand the storage capacity of TNAS.
Management and Operations
Through the function configuration buttons, you can perform the following operations:

How to Mount a Virtual Disk to TNAS?
1. First, create the iSCSI Target and iSCSI LUN on the NAS device or server.
How to use the iSCSI Manager app to create iSCSI Target and iSCSI LUN on TNAS?
2. Go to Storage Management > Virtual Disks, then click "Mount".
3. Enter the following information:
• IP address of the iSCSI Target server, and fill in the communication port (default: 3260).
• Click "Retrieve iSCSI LUNs".
• If authentication is required: Enter the username and password.
• Optional: Enable "Data Digest" or "Header Digest" verification.
• Click "Confirm".
4. After successfully mounting the virtual disk:
• iSCSI LUNs with an existing file system in the virtual disk will be automatically mounted.
• When an iSCSI LUN without a file system is detected, formatting is required. Mounting is allowed only after successful formatting.
An iSCSI Target can only connect to one host at a time.